
Now on to how to use this application. After you download, extract and install PSP Grader, insert your memory stick into your card reader, or in your PSP and make a USB connection. Take note of the drive letter that your computer assigns your memory stick. In my case it is drive K:. Once you have your memory stick ready, make sure it's one that you don't care to format, either that or backup your data, then open up PSP Grader. This is what the interface looks like.
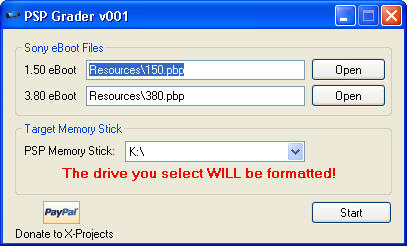
Its a really simple tool and really simple to use. Its practically a one click application. But, you do have to load the 1.50 and 3.80 update files. Click on Open for the 1.50 eBoot and navigate to it and select it.
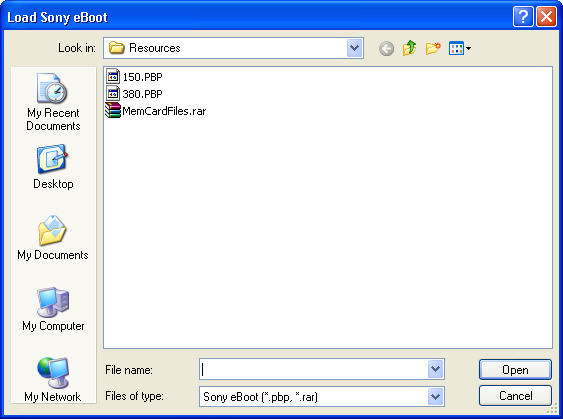
Do the same thing for the 3.80 eBoot.
Make sure that your memory stick is selected here:
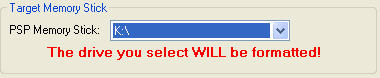
Then click start.
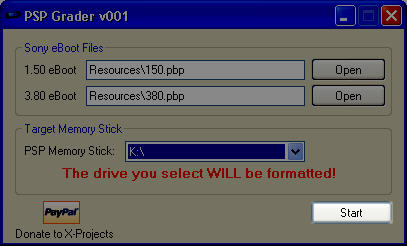
PSP Grader starts the operation of creating the memory stick.
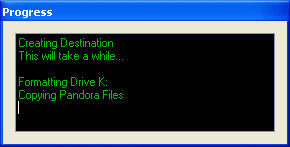
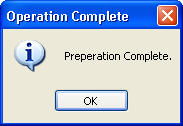
And tells you when its finished.
Once it's done, you'll want to know how to use it with your Pandora Battery. With the PSP turned off and battery removed, insert the memory card into your PSP. Now you have a choice. If you want to boot to the Pandora menu, press and hold the left shoulder button and then insert your Pandora's battery. The PSP should automatically boot and bring up the Pandora menu to where you can unbrick or whatever else you need to. If you want to boot normally, then you would just insert the battery without holding the left shoulder button and the PSP will boot to the XMB.
Hope you enjoy the release from Klutsh, if you get the chance, visit his site at x-projects.org and drop him a thank you.

